
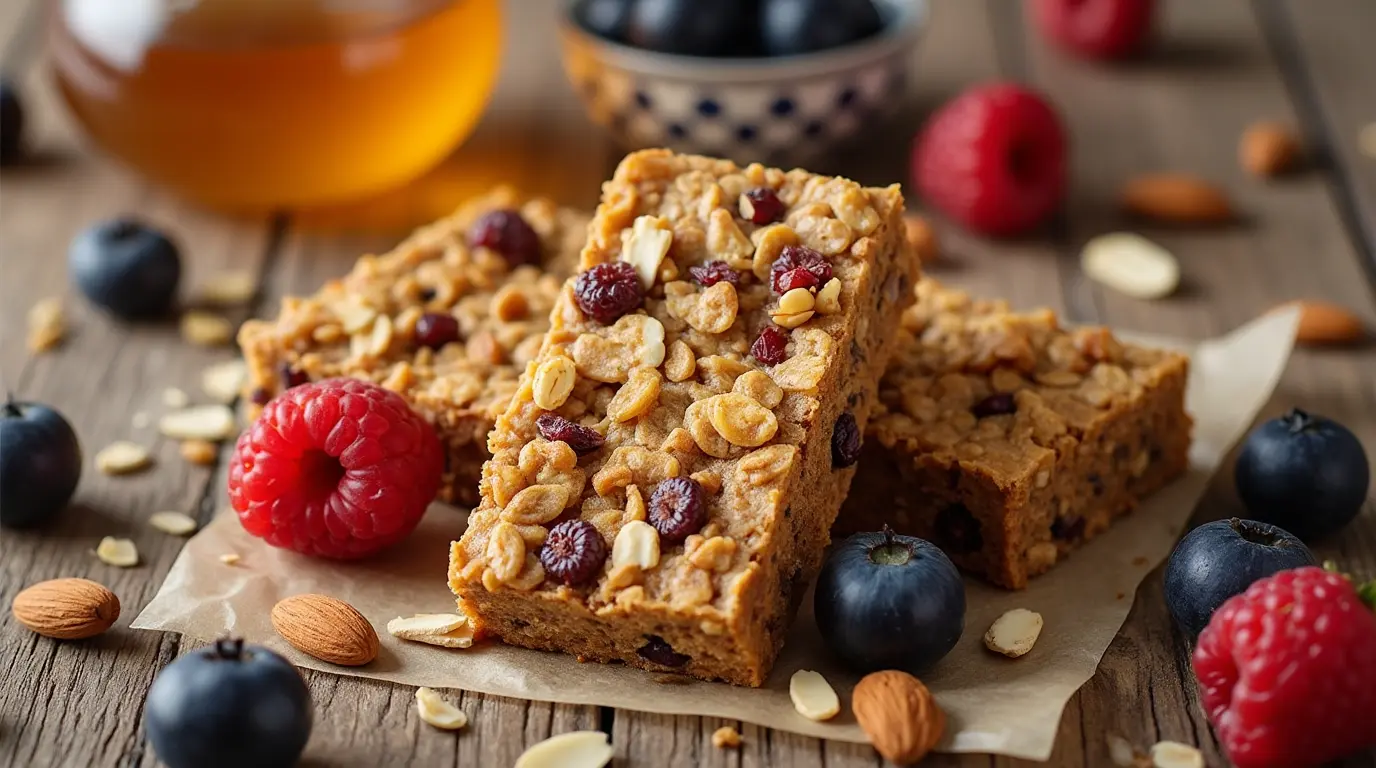
There’s something magical about the crunch of a homemade cereal bar—a snack that not only fuels your day but also carries a sense of nostalgia and personal triumph. In this guide, you’ll discover how making cereal bars from scratch empowers you to take control of your ingredients, tailor recipes to your taste, and create a wholesome treat that fits perfectly into your busy lifestyle.
Table of Contents
An Emotional Connection to Cereal Bars
Imagine starting your day with a bite of a cereal bar that you crafted yourself. Each crunch transports you back to simpler times—childhood mornings filled with anticipation and late-night experiments in the kitchen. When you create your own cereal bars, you’re not just making a snack; you’re rekindling fond memories and forging new ones. This article is your invitation to rediscover that joy while taking charge of your nutritional needs.
Why Choose Homemade Cereal Bars?
Making cereal bars at home offers a treasure trove of benefits that go far beyond convenience. When you opt for a homemade version, you’re making a commitment to health, cost efficiency, and creative freedom.
Health Benefits
- Control Over Ingredients:
You decide what goes into your cereal bars. This means you can opt for organic, whole, and non-GMO ingredients while avoiding unwanted additives, excess sugars, or preservatives. Your body deserves the best fuel, and you can ensure it with every bar you create. - Tailored Nutrition:
Whether you need a high-protein snack to power through your workout or a high-fiber option to keep you full until lunch, you have the freedom to adjust your recipe. Craft your bars to meet specific dietary needs without compromising on taste. - Natural Energy Boost:
With the right blend of whole grains, fruits, and nuts, your cereal bars offer a sustained release of energy. Say goodbye to the rollercoaster of blood sugar spikes and crashes that often accompany store-bought snacks.
Cost Efficiency
- Savings That Add Up:
When you compare the cost of premium store-bought cereal bars to making them at home, the difference is striking. By purchasing basic ingredients in bulk, you’re not only saving money but also reducing food waste through careful portion control.
Personalization
- Creative Freedom:
Homemade cereal bars allow you to experiment with flavors and textures. Whether you’re in the mood for a tropical twist with coconut and dried pineapple or a rich choco-nut delight with cocoa and dark chocolate chips, the choice is yours. You can even adjust recipes to accommodate dietary restrictions like veganism or gluten intolerance. - Satisfaction of Crafting:
There’s an inherent satisfaction in creating something nutritious and delicious with your own hands. Each bar becomes a testament to your creativity and care for your wellbeing.
Essential Ingredients and Equipment
Before you dive into the process, it’s important to gather all the necessary ingredients and equipment. This preparation sets the stage for a smooth and enjoyable cooking experience.
Must-Have Ingredients for Cereal Bars
Below is a detailed table outlining the key ingredients you’ll need, along with their quantities and potential substitutes to accommodate any dietary needs or personal preferences.
| Ingredient | Quantity | Notes/Alternatives |
|---|---|---|
| Rolled Oats | 2 cups | Use gluten-free oats if needed |
| Honey or Maple Syrup | 1/2 cup | Choose maple syrup for a vegan option |
| Nut Butter | 1/2 cup | Almond, peanut, or cashew butter |
| Dried Fruits | 1 cup | Raisins, cranberries, or chopped apricots |
| Nuts/Seeds | 1/2 cup | Chopped almonds, walnuts, or chia seeds |
| Vanilla Extract | 1 tsp | Enhances overall flavor profile |
| Salt | A pinch | Balances sweetness and highlights flavors |
Necessary Equipment
To make your experience seamless, ensure you have these items on hand:
- Mixing Bowls: For combining dry and wet ingredients separately.
- Measuring Cups and Spoons: Precision is key for both flavor and texture.
- Baking Tray or Pan: A flat surface for pressing your mixture evenly.
- Oven: For baking your bars, though you can also opt for a no-bake version by refrigerating the mixture.
With these tools and ingredients ready, you’re well-prepared to embark on your cereal bar adventure.
How to Make Cereal Bars: Step-by-Step Instructions
Creating your perfect cereal bar is a blend of art and science. Follow these detailed steps to ensure that each bite is packed with flavor and nutrition.
Preparation Steps
- Preheat and Prepare:
- If you’re baking, preheat your oven to 350°F.
- Line your baking tray with parchment paper to prevent sticking and make cleanup easier.
- Mix Dry Ingredients:
- In a large mixing bowl, combine 2 cups of rolled oats, 1 cup of your chosen dried fruits, 1/2 cup of chopped nuts or seeds, and a pinch of salt.
- This blend forms the structural base of your cereal bars.
- Prepare Wet Ingredients:
- In a small saucepan, gently warm 1/2 cup of nut butter with 1/2 cup of honey or maple syrup and 1 teaspoon of vanilla extract.
- Stir continuously until the mixture is smooth and slightly thinned out for easier mixing.
- Combine and Mix:
- Pour the warm wet mixture over the dry ingredients.
- Stir thoroughly until all components are evenly coated, ensuring every piece of oat and nut gets a touch of sweetness.
- Forming Bars:
- Transfer the mixture to your lined baking tray.
- Use a spatula or your hands (if the mixture is cool enough) to press it firmly into an even layer.
- For a no-bake version, press the mixture tightly into a pan and refrigerate for at least two hours.
- Baking or Refrigerating:
- If baking, place your tray in the oven for 15–20 minutes.
- Once baked, allow the bars to cool completely to firm up before cutting them into individual pieces.
- Cooling and Cutting:
- Let the mixture cool on the tray for at least 10 minutes.
- Use a sharp knife to cut your bars into even squares or rectangles for easy snacking.
Expert Tips and Variations
- Texture Tweaks:
If you find your mixture too dry, add a splash more of honey or nut butter. Conversely, if it’s too wet, sprinkle in a bit more oats until the desired consistency is achieved. - Flavor Enhancements:
A pinch of cinnamon or a dash of nutmeg can transform the flavor profile, giving your bars a warm, comforting aroma. - Optional Add-Ins:
Consider mixing in dark chocolate chips, shredded coconut, or even a handful of seeds like flax or hemp for added nutritional benefits.
By following these steps, you’ll be able to craft cereal bars that are not only delicious but also perfectly tailored to your tastes and nutritional needs.
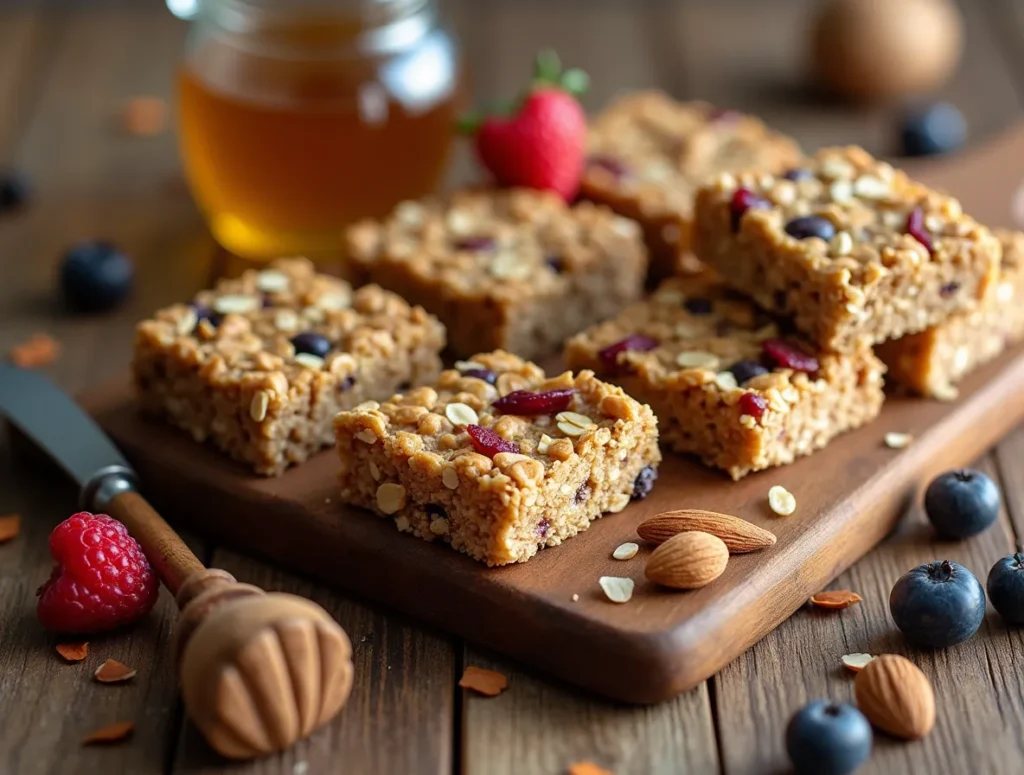
Creative Variations of Cereal Bars
Once you’ve mastered the basics, why not explore some creative twists to keep things interesting? Your cereal bars can be as unique as your palate, and the possibilities are endless.
Flavor Variations
Experiment with different combinations to create a variety of flavors:
- Tropical Twist:
- Add dried pineapple, coconut flakes, and macadamia nuts.
- This variation brings a burst of island flavor that is both refreshing and energizing.
- Choco-Nut Delight:
- Mix in a tablespoon of cocoa powder and a handful of dark chocolate chips.
- For those who love a touch of indulgence with their healthy snack, this is the perfect option.
- Berry Blast:
- Incorporate dried blueberries or cranberries along with a dash of lemon zest.
- The tartness of the berries combined with the citrus notes creates a delightful balance of flavors.
Dietary Considerations
Your cereal bars can be customized to suit a range of dietary needs:
- Gluten-Free:
- Simply use certified gluten-free oats and ensure all other ingredients are gluten-free.
- Vegan:
- Replace honey with maple syrup or agave, and check that your nut butter doesn’t contain any animal-derived additives.
- High-Protein:
- Boost the protein content by adding a scoop of your favorite protein powder or extra nut butter.
Experiment with these variations until you find the perfect match for your taste buds and dietary preferences.
Maximizing Freshness and Flavor
The journey doesn’t end once your cereal bars are prepared. Proper storage and creative serving suggestions can extend their freshness and enhance your enjoyment.
Storage Tips
- Airtight Containers:
Keep your cereal bars in an airtight container to maintain their crunch and flavor. - Refrigeration:
For extended freshness, store them in the refrigerator, especially if you’re in a warmer climate. - Freezing:
If you’ve made a large batch, consider freezing individual bars. Simply thaw at room temperature when you’re ready for a snack.
Serving Suggestions
Cereal bars are incredibly versatile and can be enjoyed in various ways:
- Breakfast On-the-Go:
Pair your cereal bar with a fresh piece of fruit and a cup of your favorite beverage for a balanced breakfast. - Post-Workout Boost:
Enjoy a bar after exercising to refuel and aid muscle recovery with its perfect blend of carbs and protein. - Afternoon Snack:
Keep a few bars handy in your desk drawer or bag to ward off mid-afternoon hunger pangs.
By storing and serving your cereal bars with care, you ensure that every bite is as delightful as the first.
Frequently Asked Questions About Cereal Bars
What Are the Health Benefits of Making Your Own Cereal Bars?
When you make your own cereal bars, you gain complete control over the ingredients. This means you can avoid preservatives, control sugar levels, and boost the nutritional profile of each bar by incorporating whole grains, nuts, and dried fruits. The result is a snack that provides lasting energy without the unwanted additives found in many commercial products.
Can I Customize Cereal Bars for Specific Dietary Needs?
Absolutely. You can easily modify the recipe to suit a range of dietary preferences. Whether you’re aiming for a gluten-free, vegan, or high-protein version, substituting a few ingredients will let you craft cereal bars that align perfectly with your nutritional goals.
How Long Do Homemade Cereal Bars Stay Fresh?
Generally, when stored in an airtight container at room temperature, your cereal bars can remain fresh for up to a week. If you refrigerate them, they may last even longer, and freezing allows you to extend their shelf life significantly—ideal for those who like to prepare snacks in bulk.
What Variations Can I Try with My Cereal Bars?
The options are nearly endless. You might try a tropical version with coconut and dried pineapple, a choco-nut variation with cocoa powder and dark chocolate chips, or even a tangy berry twist with dried cranberries and lemon zest. Experiment with different combinations until you find the flavors that resonate best with you.
Wrapping Up Your Cereal Bar Journey
Crafting your own cereal bars is more than just a culinary project—it’s a journey toward better health, creativity, and personal satisfaction. By choosing to make your bars from scratch, you embrace a healthier lifestyle, save money, and open the door to endless flavor possibilities.
Final Thoughts
You now have the blueprint to create cereal bars that are delicious, nutritious, and tailored precisely to your taste. With your own hands guiding every step, from mixing the perfect blend of ingredients to pressing and baking the bars, you’re not only preparing a snack—you’re crafting an experience that nourishes both body and soul.
Take this opportunity to experiment and adapt the recipe to match your unique preferences. Share your creations with friends and family, and don’t hesitate to post your variations on social media. Your journey into homemade cereal bars is just beginning, and each bar you make is a testament to your creativity and commitment to a healthier lifestyle.
Call to Action
Now that you’re equipped with everything you need to make your very own cereal bars, it’s time to take action. Gather your ingredients, set up your kitchen, and start crafting your perfect snack. We’d love to see and hear about your experiences—share your recipes, photos, and tips on social media or leave a comment below. Your feedback not only inspires others but also helps build a community of health-conscious, creative cooks just like you.
Embrace the adventure of creating your personalized cereal bars and enjoy the delicious rewards of a snack that’s as unique as you are!
With these insights, you’re ready to transform a simple idea into a delicious reality. Whether you’re looking for a quick breakfast on the run, a wholesome post-workout treat, or an afternoon pick-me-up, homemade cereal bars offer a delightful blend of flavor, nutrition, and personal expression. Happy cooking, and may every bite remind you of the joy and satisfaction that comes from creating something truly your own!